

I Built an AI That Picks Music Based on Your Face
Training a CNN to read emotions, turning them into music, and shipping it with Flask and React
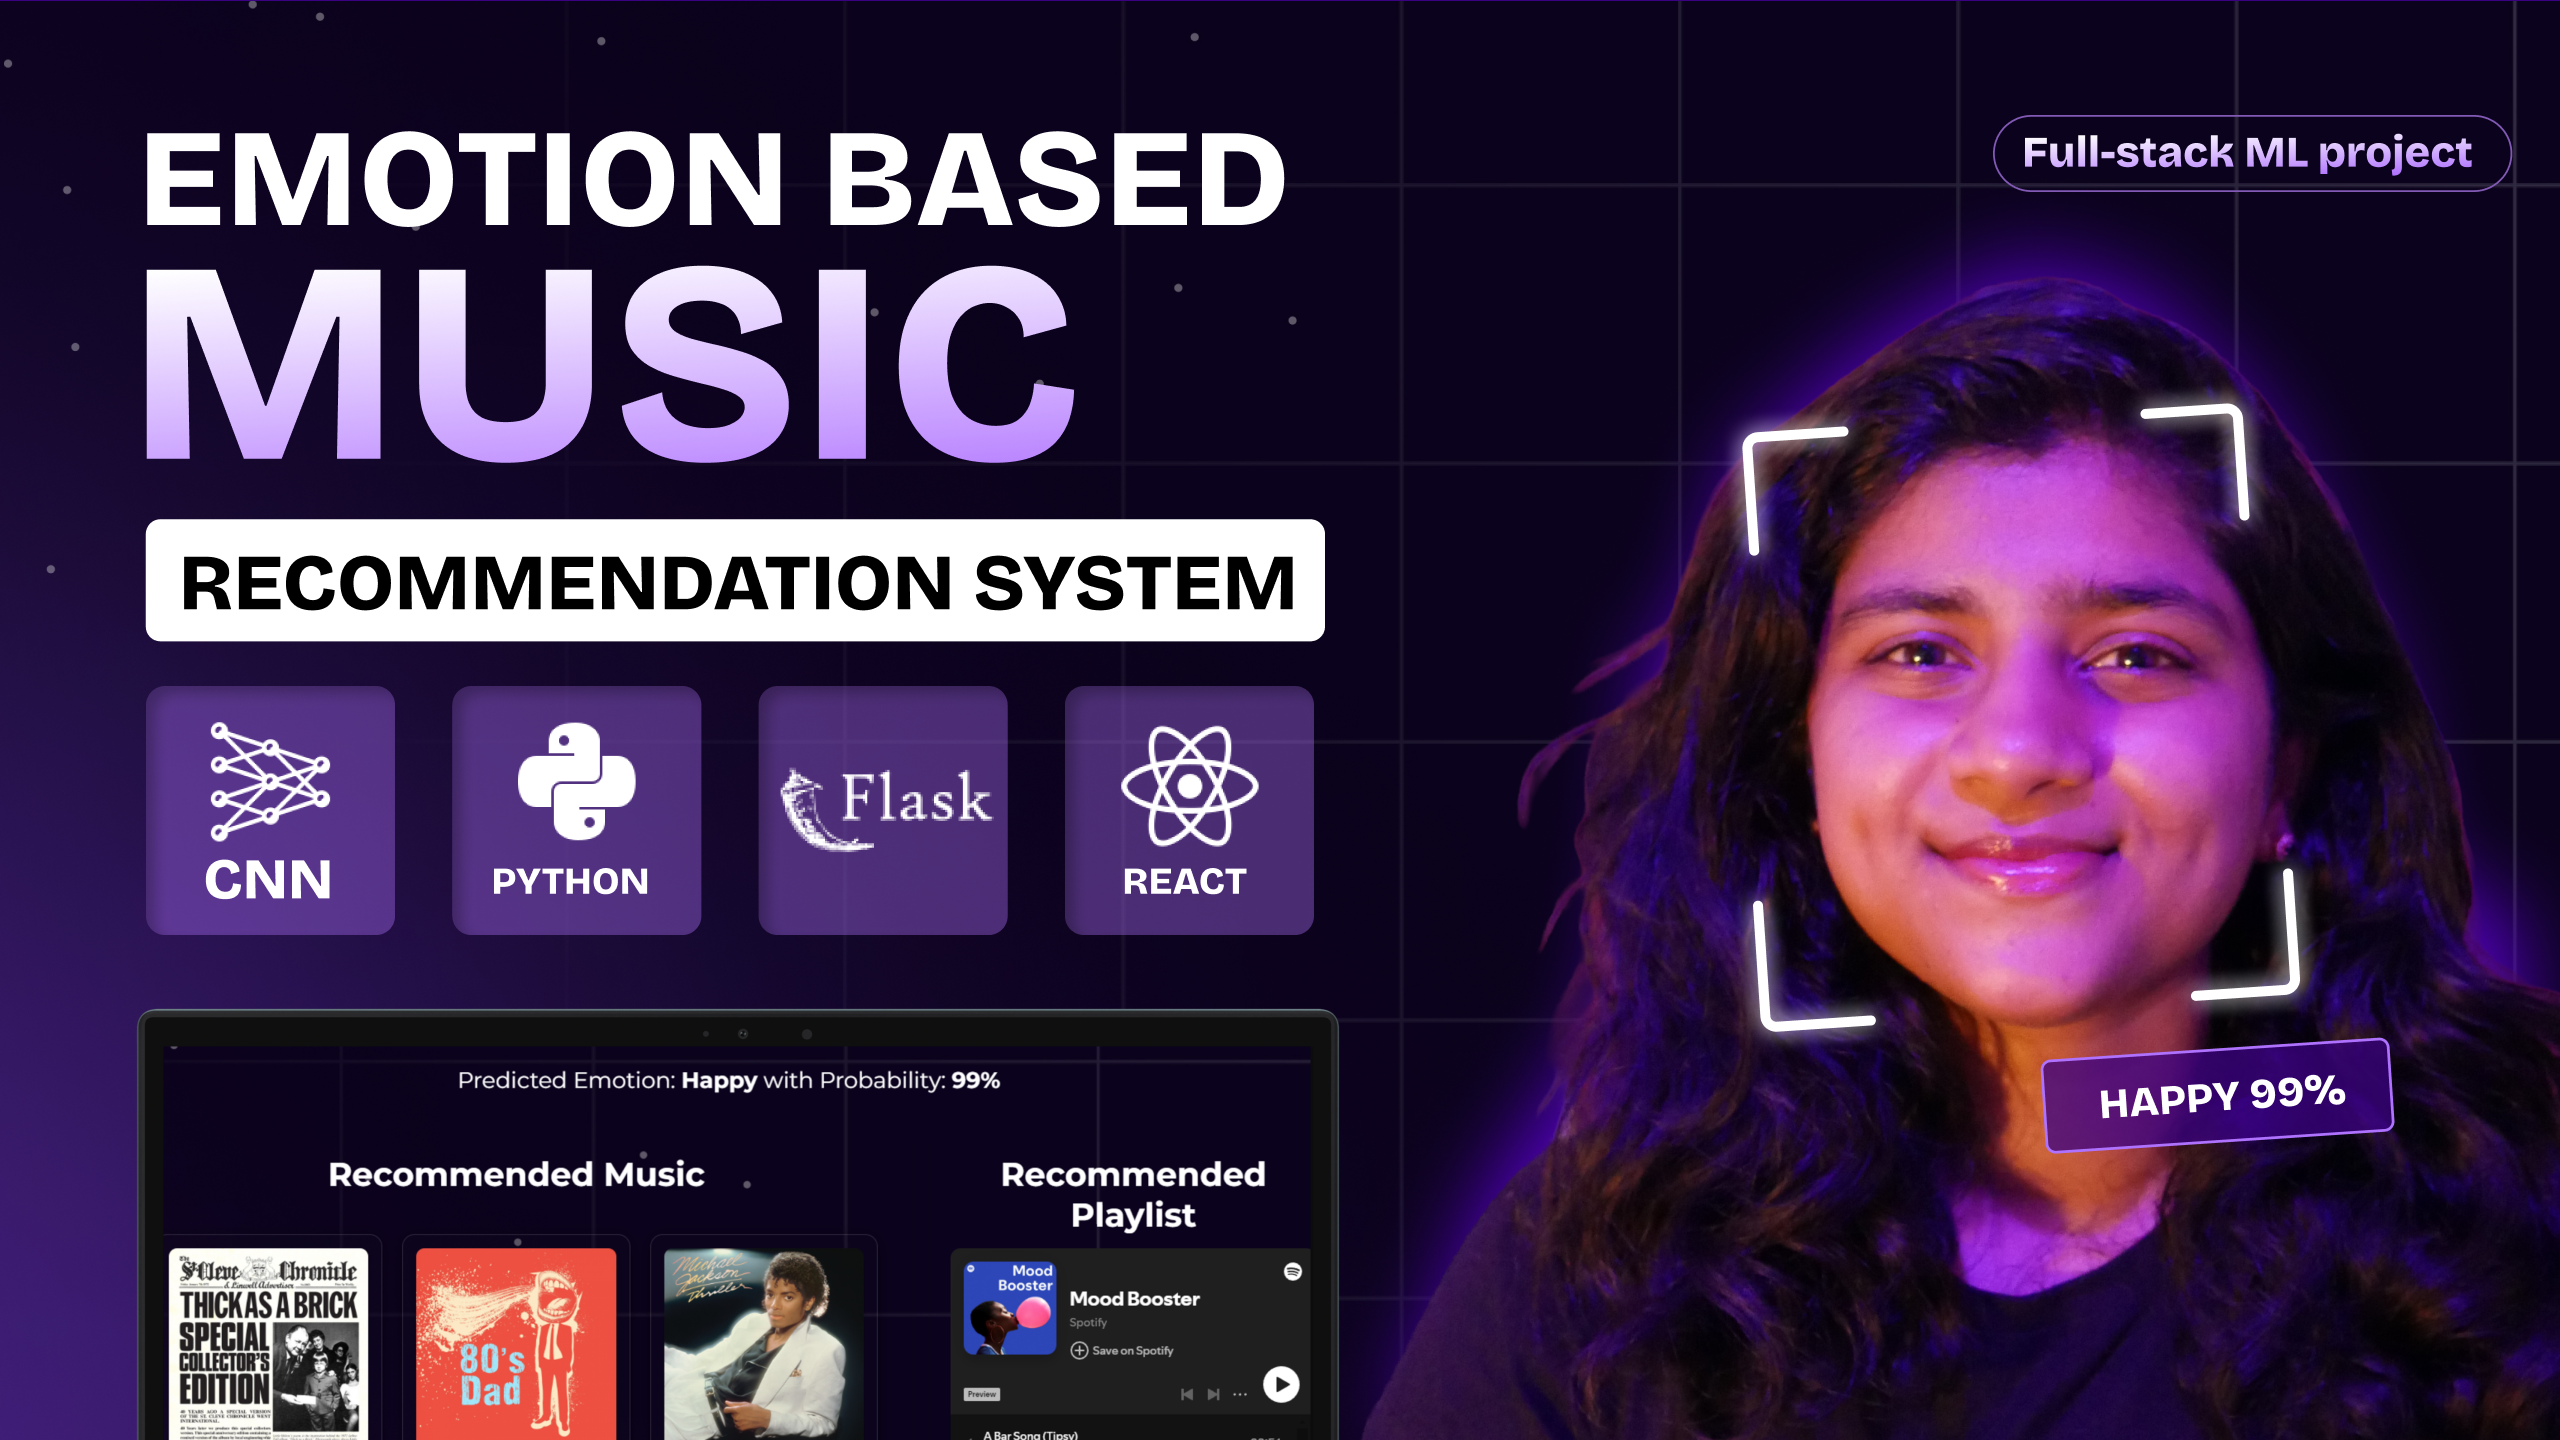
Take one photo of your face, and an app tells you how you feel and plays six songs to match. That's emuziek, a project I first built in college with three friends and recently rebuilt from the ground up.
This post walks through the whole thing: training a neural network to read emotions, turning an emotion into music, the Python backend, the React website, and how to run it on your own laptop. You don't need to be an ML expert to follow along.
Prefer video? Here's the full build breakdown:
Get the code: github.com/CarolDsillva/Emotion-based-music-recommendation-system
How it works
One photo becomes six songs in five steps:
- Photo in. You upload a photo or use your webcam on the React website.
- Find the face. The Flask server uses OpenCV to crop your face and shrink it to 48 × 48 pixels.
- Read the emotion. A CNN scores seven emotions, and the top one wins.
- Set a target. The emotion becomes a musical target: valence, energy and tempo.
- Pick 6 songs. The server finds the closest matches and fetches Spotify players for them.
The app has three parts: a React website, a Flask server written in Python, and the AI model. Steps 2 to 5 all happen in the backend.
Part 1: Teaching a CNN to read emotions
The dataset
Every AI model starts with data. We used FER-2013, a free Kaggle dataset of 35,887 face photos. Each one is tiny, 48 × 48 pixels in black and white, and labelled with one of seven emotions, numbered 0 to 6:
| Label | Emotion | What gives it away | Photos |
|---|---|---|---|
| 0 | Angry | lowered brows, tight lips | 4,953 |
| 1 | Disgust | wrinkled nose, raised lip | 547 |
| 2 | Fear | wide eyes, raised brows | 5,121 |
| 3 | Happy | smile, raised cheeks | 8,989 |
| 4 | Sad | drooping mouth and brows | 6,077 |
| 5 | Surprise | open mouth, high brows | 4,002 |
| 6 | Neutral | relaxed, no expression | 6,198 |
Two things stand out. The photos are rough: blurry, tiny, some half-covered by a hand. And the classes are unbalanced: happy has about 16 times more photos than disgust, so the model learns disgust worst.
Preparing the data
The CSV version stores each face as one long string of 2,304 numbers, one brightness value per pixel. Before training we:
- Reshape each row back into a 48 × 48 image with one channel.
- One-hot encode the labels, so "sad" becomes
[0, 0, 0, 0, 1, 0, 0]: a 1 in the sad slot, 0 everywhere else. That's the shape the model's seven outputs are compared against. - Split the data three ways: 29,068 images to learn from, 3,230 to check progress during training (validation), and 3,589 held back as the final exam (test).
- Augment on the fly: each face is randomly shifted, zoomed up to 20% or mirror-flipped during training. A flipped smile is still a smile, so the model sees more variety and memorises less.
What is a CNN?
The model is a convolutional neural network, the standard model type for images. It has small filters, tiny 3 × 3 grids of numbers. Each filter slides across the image and lights up wherever it finds its pattern, like an edge or a curve. Early layers find edges, middle layers combine them into eyebrows and mouth corners, and deep layers recognise whole expressions. Nobody designs these filters by hand: training learns them from the data.
After each group of filters, three helpers do the housekeeping:
- Batch normalisation re-centres each batch of numbers on 0 and rescales them to a steady spread, so training stays fast and stable.
- Max pooling keeps the strongest value in every 2 × 2 square, halving the image: 48 → 24 → 12 → 6 → 3 → 1.
- Dropout switches off a random 25% of the neurons at every training step, so no single part can do all the work. When predicting, every neuron is back on.
At the end, two dense layers (256 and 512 neurons) combine the 512 learned features, and a softmax layer turns them into seven scores that add up to 100%. The highest score wins.
model.add(Conv2D(64, (3,3), padding='same', activation='relu'))
model.add(BatchNormalization())
model.add(MaxPool2D(pool_size=(2, 2)))
model.add(Dropout(0.25))
Training and results
Training is a loop: the model guesses, a loss function measures how wrong it was, and the Adam optimiser nudges the weights to be a little less wrong. One full pass through the 29,068 training photos is an epoch. Early stopping ends training when validation accuracy stops improving, and a checkpoint saves the best version along the way.
| Run | Change | Test accuracy |
|---|---|---|
| 1 | Adam, learning rate 0.0001, up to 30 epochs | 58.5% |
| 2 | Swapped Adam for plain SGD | 21.3% |
| 3 | Back to Adam, up to 50 epochs, more patience | 61.8% |
Is 62% good? With seven emotions, random guessing gets about 14%, and humans score around 65% on this same dataset, because many of these faces are honestly ambiguous. A second, smaller network in notebook 02 scored 61.2%, almost the same: a bigger model isn't automatically better.
The app itself runs a pre-trained CNN from Kaggle with the same input format, linked at the end of this post.
Part 2: Turning an emotion into music
Knowing you look sad is only half the job. To pick songs, we use a second Kaggle dataset: 170,653 Spotify tracks. Spotify measures how every track sounds, and we use three of those numbers:
- Valence (0 to 1): how happy or positive a song sounds. Heartbreak ballads sit near 0, feel-good pop near 1.
- Energy (0 to 1): how intense it feels. A quiet acoustic song is low, a loud dance track is high.
- Tempo (beats per minute): how fast it is. Ballads sit around 60, pop and dance around 120 to 140.
Each emotion gets a target sound, the kind of song we're looking for:
| Emotion | Valence | Energy | Tempo (BPM) |
|---|---|---|---|
| Happy | 0.9 | 0.8 | 140 |
| Surprise | 0.8 | 0.7 | 160 |
| Neutral | 0.5 | 0.5 | 100 |
| Disgust | 0.3 | 0.5 | 80 |
| Angry | 0.2 | 0.9 | 120 |
| Fear | 0.2 | 0.8 | 140 |
| Sad | 0.2 | 0.3 | 60 |
Angry and sad are both low on valence; the difference is energy. That's why one number isn't enough.
Tempo runs into the hundreds while the other two stop at 1, so all three are rescaled to the same 0 to 1 range with scikit-learn's MinMaxScaler, otherwise tempo would drown out the rest. We also skip very obscure tracks (popularity under 40) and remove duplicates and covers, which leaves about 63,000 songs. Then we find the ones closest to the target.
The bug: why sad faces got upbeat songs
When I tested "sad", I kept getting fairly upbeat songs, with energy around 0.66 and a tempo around 130. Not sad music.
The cause was how the original code measured "closest". Picture every song as an arrow starting from the same point:
- Cosine similarity only looks at the angle between two arrows, meaning which direction they point. It ignores how long they are.
- Euclidean distance is the straight-line distance between the two tips. It cares about direction and length.
After rescaling, the sad target is roughly (0.2, 0.3, 0.25). An upbeat song at (0.4, 0.6, 0.5) is exactly double that: it points the same way, so cosine similarity called it a perfect match. Think of two people walking out of the same door in the same direction, one stopping after 2 metres and the other after 20. Cosine says they're in the same place.
The fix was one line:
# before
scores = cosine_similarity(normalized_data, target_vector)
# after
distances = np.linalg.norm(song_matrix - target, axis=1)
Now "sad" gets songs with low valence, low energy and a slow tempo. I also added a test that checks every emotion's songs actually match its target, so this bug can't quietly come back. The lesson: how you measure "similar" matters as much as the data itself.
Part 3: The Flask backend
The backend is one Python file, app.py, built with Flask. It loads the heavy things once, at startup: the model, OpenCV's face detector and the song list. Then every photo sent to POST /detect-emotion goes through four steps:
- Find the face. A Haar cascade, OpenCV's classic face detector, finds the biggest face and crops to it. This made a big difference: the original app shrank the whole photo, background and all, down to 48 pixels, so the face was a tiny blob.
- Shrink to 48 × 48 grayscale and scale pixels to 0 to 1, exactly like the training images.
- Predict. The model returns seven scores; the top one wins.
- Ask Spotify. We pick 6 of the 30 closest songs and, using the Spotipy library, fetch each one's album art, link and an embeddable player. That's one search per song (the old code made three), and if Spotify is down the app still returns the songs, just without artwork.
The response is JSON with the emotion, the confidence and six songs. Bad input, such as no file, a file that isn't an image or one over 10 MB, gets a clear error instead of a crash. The Spotify keys live in a .env file that never goes on GitHub, and the backend has 49 automated tests, including one for the mood-matching bug above.
Part 4: The React frontend
The website has just two pages. On the home page you upload a photo or click Take Picture to use your webcam. Detect Emotion sends the photo to the backend and shows a loading screen; if something goes wrong, like no photo or the server being off, you see a clear message instead of nothing.
The results page shows the predicted emotion and how sure the model is, then six song cards with album art, a Spotify player you can press play on, and each song's valence, energy and tempo. On the side is a full Spotify playlist for that mood.
Run it yourself
The repo comes with three one-click scripts for Windows. You need Python 3.10, 3.11 or 3.12 (TensorFlow doesn't support 3.13 yet, the most common setup error) and Node.js 18 or newer.
- Get the code: clone the repo or download the ZIP from GitHub.
- Double-click
setup.bat. It finds a compatible Python, creates a virtual environment, installs the Python packages, then installs and builds the React app. The first run takes 10 to 20 minutes, mostly for TensorFlow. Everything is logged tosetup_log.txt. - Add your Spotify keys (optional, free): go to the Spotify Developer Dashboard, click Create app, copy the Client ID and Client Secret, and paste them into
backend/.env. Without keys the app still works, just without album art and players. - Double-click
run.bat. It starts the Flask server on port 5000 and React on port 3000, then opens the app in your browser. - Double-click
test.batto run the tests. If it ends with "ALL TESTS PASSED", you're good.
On macOS or Linux, the README has the manual commands. One Windows gotcha: if pip fails with "No such file or directory" inside TensorFlow, your folder path is too long. Move the project somewhere short, like C:\emuziek.
What I learned
- Compare against the right baseline. 62% sounds low until you know guessing gets 14% and humans get about 65%.
- Think hard about how you measure "similar". One choice of distance made sad faces get happy songs.
- Prepare inputs exactly like the training data. Cropping to the face mattered as much as the model.
- Write tests for the behaviour you care about, not just for crashes.
- Keep secrets out of your code. API keys belong in a
.envfile, never on GitHub.
Try it on your own face, and tell me in the comments what emotion it gave you and the song it picked.
Links
- Video: https://youtu.be/1YN71fWb0Iw
- Code, notebooks and setup scripts: GitHub repo
- FER-2013 face dataset (images)
- FER-2013 face dataset (CSV, used in notebook 01)
- Spotify songs dataset
- Pre-trained emotion model used in the app
- Spotify Developer Dashboard
I'm Carol, and I build things with AI, code and a camera. More on my website and YouTube channel.
About the author
Hello World! I am Carol Dsilva, A Second Year Information Science Engineering Student at Sir M Visvesvaraya Institute of Technology with a profound interest in Technology and Design.
Comments
Join the discussionNo comments yet. Be the first to comment.


